
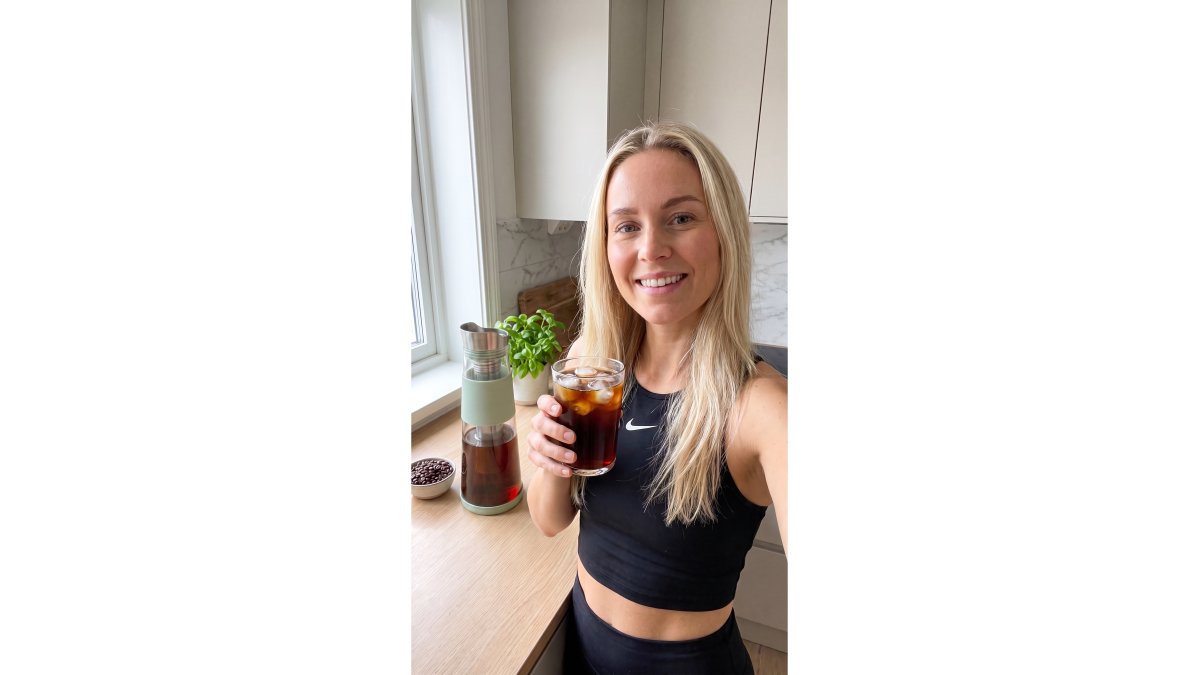
Table of Contents
- What Makes Café Quality Cold Brew Different
- Essential Equipment for Cold Brew at Home
- Selecting the Best Coffee Beans for Cold Brew
- Getting the Cold Brew Coffee Ratio Right
- Cold Brew Steeping Time and Temperature Control
- Step-by-Step Brewing Instructions
- Storing and Serving Your Cold Brew Concentrate
- Common Mistakes to Avoid
- Frequently Asked Questions
Last Updated: September 18, 2026
What Makes Café Quality Cold Brew Different
Café quality cold brew isn't just cold coffee. It's a completely different brewing method that pulls out different flavours and creates a smoother, less acidic drink. The key difference lies in how long the coffee steeps and what temperature the water stays at during extraction.

When you brew cold, the extraction rate slows down dramatically. Hot water pulls oils and acids out fast. Cold water takes its time, which means you get rich flavour without the harshness. This is why café cold brew tastes smoother than iced coffee (which is just hot coffee poured over ice).
The immersion method used in cold brew also matters. Your coffee grounds sit directly in water for hours, not minutes. This extended steeping time creates a concentrate that's naturally lower in acidity, making it gentler on sensitive stomachs. Our cold brew concentrate delivers café-quality results without the bitterness most home brewers struggle with.
Most people think cold brew is just "coffee left in water overnight." The reality is more precise. Temperature control, grind size, brew strength, and filtration all affect the final cup. Get these right, and you'll have cold brew that rivals what you'd pay $7 for at a café. Get them wrong, and you'll end up with weak, over-extracted, or sediment-filled brew.
Essential Equipment for Cold Brew at Home
You don't need expensive gear to make café quality cold brew. A glass jar, coarse ground coffee, and a filter will work. But the right equipment makes the process cleaner and the results more consistent.
What you actually need:
- A glass or stainless steel container (at least 1 litre capacity)
- A fine mesh filter or cheesecloth
- A way to measure your coffee and water
- A storage bottle for your concentrate
- A spoon or stirrer for agitation
A dedicated cold brew maker simplifies everything. The Brew & Go Cold Brew Coffee Maker ($69.00) uses dual stainless steel filtration and a patented pour mechanism, so you skip the mess of straining by hand. The borosilicate glass won't crack, the base is shockproof, and there's zero plastic involved. It makes a full litre at a time and fits straight in your fridge door.
If you're starting with what you have at home, a mason jar works fine. Just know you'll need to strain your brew twice to remove sediment and get that clean pour. A french press can also work, though it's not ideal because the metal mesh lets fine particles through.
Why glass matters: Plastic can leach chemicals into your cold brew, especially over long steeping periods. Glass or stainless steel keeps your brew pure. Borosilicate glass handles temperature changes without cracking, which matters when you move your brew from room temperature to the fridge.
Selecting the Best Coffee Beans for Cold Brew
The bean you choose changes everything about your cold brew's flavour profile, mouthfeel, and acidity level. Cold brewing pulls out different notes than hot brewing, so not every bean works equally well.
What to look for:
- Roast level: Medium to dark roasts work best. They have more body and chocolate notes that shine in cold brew. Light roasts can taste thin or sour when brewed cold.
- Origin and flavour profile: Beans from Papua New Guinea or Central America tend to have nutty, chocolate notes that work beautifully in cold brew. Look for descriptions like "smooth," "balanced," or "low acidity."
- Freshness: Buy beans roasted within the last 4 weeks. Cold brewing takes longer, so you need fresh beans to start with.
- Low acidity: If you have a sensitive stomach, seek out beans specifically grown and processed for lower acidity. Water processing (like Swiss water decaffeination) removes acids.
Brew & Glow's Daily Diva ($17.00) is a full-bodied blend with rich chocolate and nutty notes. The beans are sourced from Papua New Guinea and roasted using carbon-conscious practices. They're already optimised for cold brew, so you skip the guesswork.

The mistake most people make is using whatever coffee they already have. Your everyday hot brew beans might taste sour or thin when brewed cold. Cold extraction brings out different compounds, so bean selection actually matters more for cold brew than for hot coffee.
Getting the Cold Brew Coffee Ratio Right
The coffee-to-water ratio determines your brew strength and how long your concentrate lasts. Get this wrong and you'll have weak brew or something so strong it's undrinkable.
The standard ratio is 1 part coffee to 4 parts water by weight. This creates a concentrate you'll dilute later. If you prefer stronger cold brew, use 1:3. For lighter brew, try 1:5.
Here's how to measure:
- For a 1 litre batch: use 200 grams of coarse ground coffee and 800 millilitres of water (1:4 ratio)
- For a 1 litre batch with stronger concentrate: use 250 grams of coffee and 750 millilitres of water (1:3 ratio)
Weight matters more than volume. A cup of whole beans weighs differently than a cup of ground coffee. If you don't have scales, aim for roughly 1 part coffee to 4 parts water by eye, then taste and adjust next time.
The coarse grind is critical here. Fine grounds extract too quickly in cold water and create sediment. Coarse grounds extract slowly and evenly, giving you that clean, smooth flavour without grit.
Pro Tip: Write down your ratio and brew time the first time you make a batch. Cold brew varies based on room temperature and your beans. Once you find what works, you can repeat it perfectly every time.
Cold Brew Steeping Time and Temperature Control
Steeping time is where cold brew gets its smoothness. Most cold brew steeps for 12 to 24 hours. The longer it sits, the more flavour extracts, but there's a limit before it becomes over-extracted and bitter.
Steeping time guidelines:
- 12 hours: lighter, brighter flavour (good for light roasts or if you're in a hurry)
- 16-18 hours: balanced flavour with good body (the sweet spot for most people)
- 24 hours: full-bodied, rich concentrate (good for strong cold brew or if you want to dilute it more)
Temperature affects extraction rate. Room temperature (around 20°C) is standard. Cold water in a cold kitchen will take longer to extract. Warmer kitchens will extract faster. If your kitchen runs cold, add 2-4 hours to your steeping time.
Brew and Go Cold Brew Coffee Maker →
Agitation matters too. Stir your brew once or twice during steeping. This helps the water contact fresh coffee grounds and speeds up extraction slightly. You don't need to stir constantly, just a gentle mix every 6-8 hours.
Once your steeping time is done, the total dissolved solids in your brew reach their peak. If you leave it longer, you'll start pulling out more tannins and bitter compounds. The brew's mouthfeel changes from smooth to astringent.
Temperature control after brewing is equally important. Once you've strained your concentrate, store it in the fridge immediately. Cold slows oxidation and keeps your brew tasting fresh for longer.
Step-by-Step Brewing Instructions
Making café quality cold brew at home takes just a few minutes of active work. The rest is waiting.
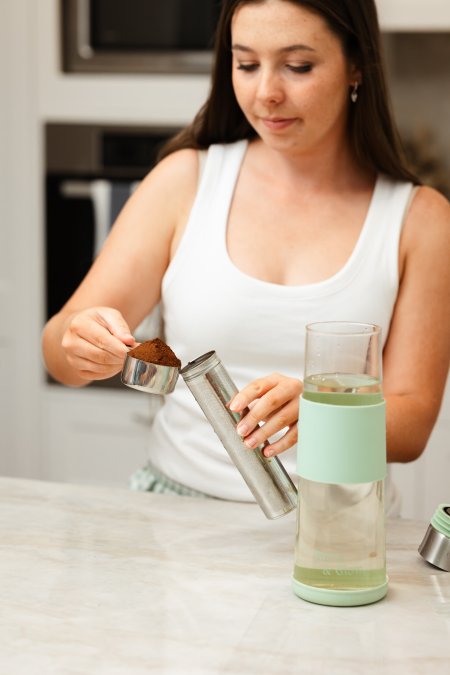
Step 1: Grind your beans coarsely
Use a burr grinder set to coarse.
Step 2: Measure your coffee and water
Step 3: Add coffee to your Brew and Go
Step 4: Pour in your water slowly
Step 5: Pop the lid on and refrigerate
Step 6: Wait 12-15 hours
Step 7: Remove the filter and grounds
Step 8: Serveerve
Storing and Serving Your Cold Brew Concentrate
Cold brew concentrate keeps much longer than hot coffee. Stored properly, it stays fresh for up to 2 weeks in the fridge.
Storage best practices:
- Keep your concentrate in an airtight glass or stainless steel container
- Store it in the fridge, not at room temperature
- Keep it away from direct sunlight (light causes oxidation and degrades flavour)
- Don't store it in plastic if you can avoid it (chemicals can leach into your brew)
- Label your container with the date you brewed it
Serving your cold brew:
Common Mistakes to Avoid
Most home brewers hit one of these pitfalls. Knowing what to watch for means you'll get café quality results on your first batch.
Mistake |
Why It Happens |
How to Fix It |
|---|---|---|
Gritty texture |
Fine grind size or single straining |
Use coarse grind, strain twice or use dual filtration |
Weak brew |
Ratio too light or short steeping time |
Measure 1:4 coffee to water, steep 16-18 hours |
Bitter taste |
Steeping too long or old beans |
Limit to 24 hours maximum, use fresh beans |
Inconsistent results |
Not measuring or varying brew time |
Use scales, set a timer, keep notes |
Sediment in cup |
Incomplete straining |
Use fine mesh filter or dedicated cold brew maker |
Frequently Asked Questions
What is the ideal coffee-to-water ratio for cold brew?
The standard cold brew coffee ratio is 1 part coffee to 4 parts water by weight. For example, 250 grams of coarse ground coffee to 1 litre of water creates a concentrate suitable for dilution. Some prefer 1:5 for a lighter concentrate or 1:3 for a stronger brew. Adjust based on your taste preference and how you plan to serve it.
How long should you steep cold brew for the best flavour?
Cold brew steeping time typically ranges from 12 to 24 hours at room temperature or in the refrigerator. Twelve hours produces a smoother, less bitter result; 18-24 hours extracts deeper, more complex flavours. Longer steeping increases extraction rate and caffeine content but may enhance bitterness if overdone. Start at 16 hours and adjust based on your preference for strength and flavour profile.
Why is low-acidity coffee better for cold brew?
Low-acidity beans reduce the natural acidity present in cold brew, creating a smoother mouthfeel and gentler experience on sensitive stomachs. Cold extraction already produces less acidity than hot brewing, but starting with low-acid beans amplifies this benefit. Beans from certain origins, like those with chocolate and nutty notes, naturally offer lower acidity and pair well with the immersion method used in cold brewing.
How do I know when my cold brew is properly filtered and sediment-free?
Proper filtration requires a two-stage approach: coarse mesh or metal filters for initial separation, followed by fine filtration to remove remaining sediment. A clean, sediment-free pour indicates successful filtration. The Brew and Go uses dual stainless steel filters to achieve this without paper waste. If sediment appears, use a finer mesh or allow the concentrate to settle longer before pouring.


